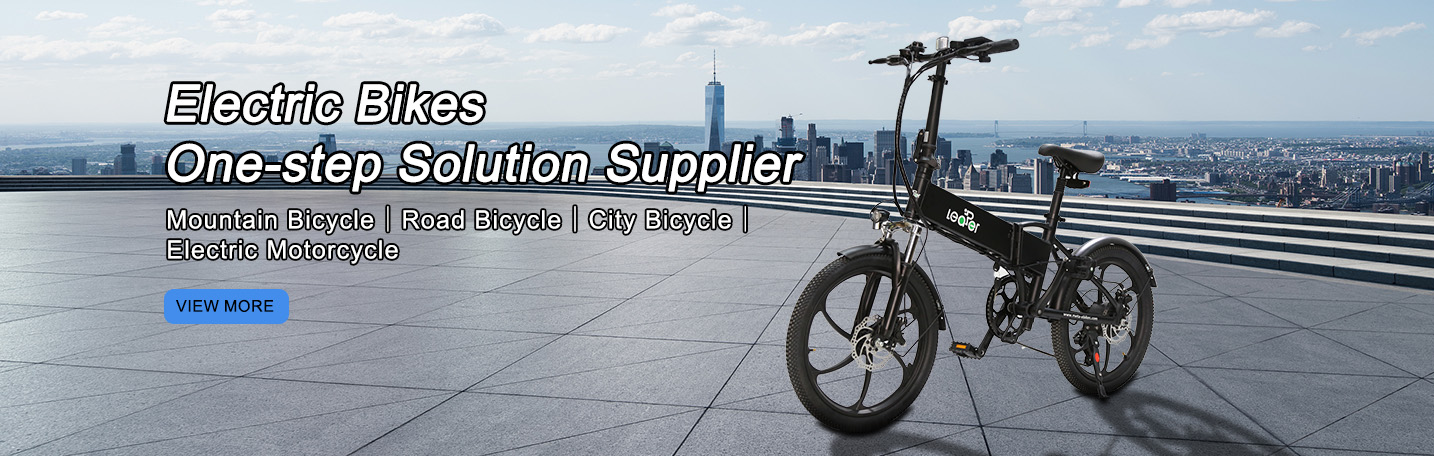
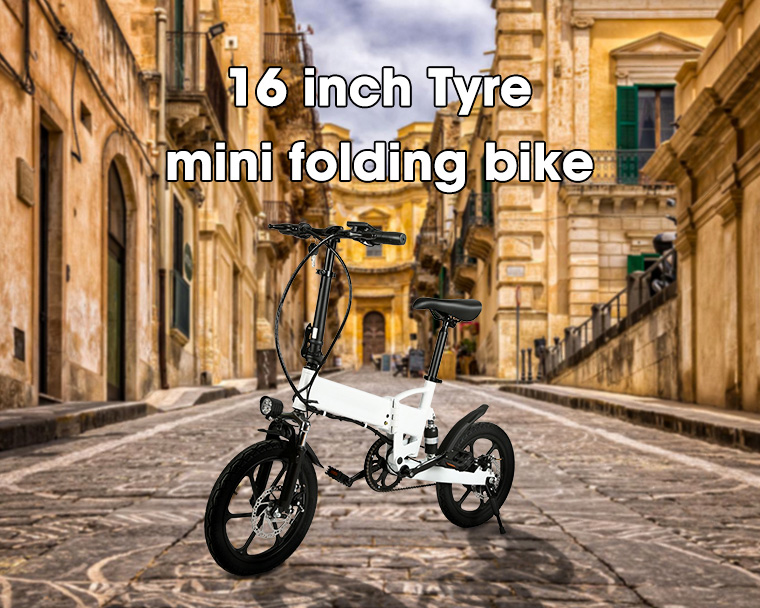
How to Assemble the E-bike
UNBOXING
First you're going to want to remove any plastic wrapping, tape, or tabs that are holding the box together, then slowly lift the box up ensuring that nothing gets stuck.
The first thing you'll want to grab and set to the side is the startup accessories and tool kit. Inside you'll see the owner's manual and all of the side accessories.
Go ahead and remove your battery and let's charge it while we continue assembling the rest of the bike.
Next, remove the seat post, front fender, front wheel and set them aside. Now remove all the remaining cardboard support.
ASSEMBLY - HANDLEBARS & SEAT
Let’s begin adding the handlebar assembly. Start by removing the four Allen bolts that hold the stem mount in place to make the installation process a bit easier.
Reinstall the front stem bracket and add the four bolts. You don't have to tighten them all the way right now, just keep them snug, you can align the handle bars later.
Now slowly lift the bike frame up and set it aside. All of the cardboard should be removed at this point.
Now we'll install the seat post. Slide it in and then begin tightening the screw and close the lever, ensuring that the lever closes firmly..

ASSEMBLY - FRONT WHEEL & PEDALS
Next we'll install the front wheel, but before we do so, now is a good time to remove any of the plastic on the fork and any plastic protective caps on both sides of the tire. As you lift the front fork, insert the tire in between and slowly guide it into place. For support, you can put your kickstand down now.
Next grab the quick release lever, separate the springs in the middle, and we'll install it from the left side or the disc brake side.
Now that the front tire is secure, we can adjust the angle for the handle bars. Once you find a position you like, go ahead and tighten those four Allen bolts firmly in a criss-cross pattern to ensure a flush mount.
Next we'll want to install the pedals, right side on the right and left side on the left. Make sure they’re nice and tight.

ASSEMBLY - FRONT FENDER, FRONT LIGHT & BELL
When installing the front fender, there are three mounting points, one mounting point that is shared with the front light bracket and two on the fork itself.
To install the front light, be sure to slide the light in place and reinstall the hardware. You'll want to tighten it on both sides. Now connect the light wires by pushing them together and twisting the connector so it locks.
The last accessory that we will see installed is the bell. There is no right or wrong place where you want to put the bell, so when you find that sweet spot, go ahead and tighten it firmly.
When fully charged, place the battery back inside the frame, squeeze it and twist to remove the key.
CONGRATULATIONS, YOU'RE READY TO RIDE!
And now we're ready for our first ride - be sure to grab a helmet for safety and check the air pressure of your tires. Now it's time to embrace your freedom and enjoy your ride!